If you, like me and many others, have started to feel uncomfortable about one company knowing everything about you, moving off the Google ecosystem is the natural first step. There are lots of alternatives for the main features: for search, there is DuckDuckGo, which is improving all the time and has now fully replaced Google search for me. There is Fastmail, Proton Mail and many other alternatives for email. For photos, Google Photos and iCloud Photos reign supreme.
I have attempted over the last couple of years to move off Google Photos. Each time, I've been let down by problems in bandwidth and download speeds. If you have vast amounts of data, it can get very difficult to work with the raw data you obtain from Google Photos using a graphical user interface. Each time I've tried to do that I've ended up with corrupted files or incomplete data.
For this reason, I eventually designed this plan.
PhotoPrism in Docker Compose
#
With a reverse proxy into a photos.mydomain.com address and https.
To be honest, while I know my way around servers I don't have a lot of experience with containers, networking or security. I did not want to attempt this project until I succeeded in getting a beginner's version of all that up online.
Choice of self-hosted photo software. I looked mostly at PhotoPrism and PhotoStructure. Both of these projects appeared closest to the sort of self-hosted Google Photos-esque application I was looking for. Many other photo projects are far closer to web 1.0 style web galleries. In my case, I had more than a quarter of a million photos and videos strewn across multiple clouds. I have ADHD, and it has been very difficult for me to organize things.. anything.
Hardware. I decided that I wanted to lease a server in Europe, because there are very good deals to be had there. Hetzner, OVH and an assortment of related companies like SoYouStart, Kimsufi, I've used most of them at various times in the past. It's relatively affordable to get up and running on a server run by any of those companies using used or old parts. For the most part it works out cheaper than trying to own your own hardware right now (in the midst of a global chip and memory shortage). Many people certainly do this sort of work on a NAS or a Raspberry Pi, but I knew I wanted something with many more cores. I got a Xeon E3 server to start, but may upgrade later. $27 a month is not a bad deal at all for a dedicated server with those speces (16GB RAM, relatively decent uplink).
Source of data, and download method. As mentioned previously, I have not had much luck with retrieving my data from Google in the past. This time, I decided to completely avoid downloading my data to local storage, knowing that even with decent desktops and laptops I would still struggle with handling all of this data. I decided to download the backup files directly into my server instead. I decided to do a Google Takeout of all of my Google Photos from my G-Suite domains (several!) and my personal account's Google Photos. You can do the same by going to the Takeout page. I decided to send Takeout data directly into OneDrive, where I have a temporary premium account solely for this purpose. I've noticed I can fetch data from OneDrive at very high speeds using rclone, at least 2-3x faster than from Dropbox or Google Drive.
Rclone, a fantastic tool I can't live without. I have been a huge fan of Rclone for a while now. While it works amazingly well for Google Drive and Dropbox, there are known limitations with rclone for extracting and moving Google Photos that I did not want to deal with. Mainly, using rclone for this purpose strips EXIF data, a known limitation of Google Photos' API.
When my Google Takeout is complete, I rclone to download from OneDrive into my server.
rclone copy onedrive: servername:/home/username/destination -P
For a 200GB backup of my Google Photos, Takeout gave me 4 files that were 50GB each. That took rclone around a few minutes to transfer at 80-100MB/s.
I then unpacked all of the files into a single folder:
cat *.tgz | tar zxvf - -i
That gave me a single folder of all of my photos in a folder named Takeout.
Installing PhotoPrism using Docker Compose. The official Docker Compose instructions are pretty easy to follow. For reference, here's my docker-compose.yml file.
Accessing your photos using a reverse proxy For security, you don't want to access your self-hosted photos at SOME.IP.XX.XX:PORTNO or yourdomain.com:portno. You'll want to access it at a domain, preferably one you own. This was the hardest part for me: there are many ways to get a reverse proxy going, and I didn't know very much about all of that.
I decided to use LSIO's swag container. In a nutshell, LSIO provides very well-maintained Docker images for many popular homelab projects. You can easily stand up a wiki, a PVR, or even niche things like a self-hosted Markdown editor. I've used many of their images in other projects and I love how easy it is, how helpful the community is. The swag container was the one I spent the most time on.
It's helpful to read the docs and initial setup info. Once you figure out the ins and outs of how things are set up in this container, you can easily get https://yourdomain.com, https://anysubdomain.yourdomain.com or even https://yourdomain.com/subfolder up and running. Of all of the 'beginner' methods of learning to set up services with reverse proxies (and there are many: you can use Traefik, Caddy, docker gen, etc), this wound up being the one I felt I learned most quickly.
In summary, you want to:
- Set up DNS
- Get an SSL certificate for all your domains and subdomains
- Edit the proxy configuration files
Read the docs, or ask for help; it took me, someone with not a whole lot of infrastructure experience but who knows a bit of Linux, a couple of days to set it up correctly.
The swag container has many built-in templates that makes this easy, once you learn its quirks.

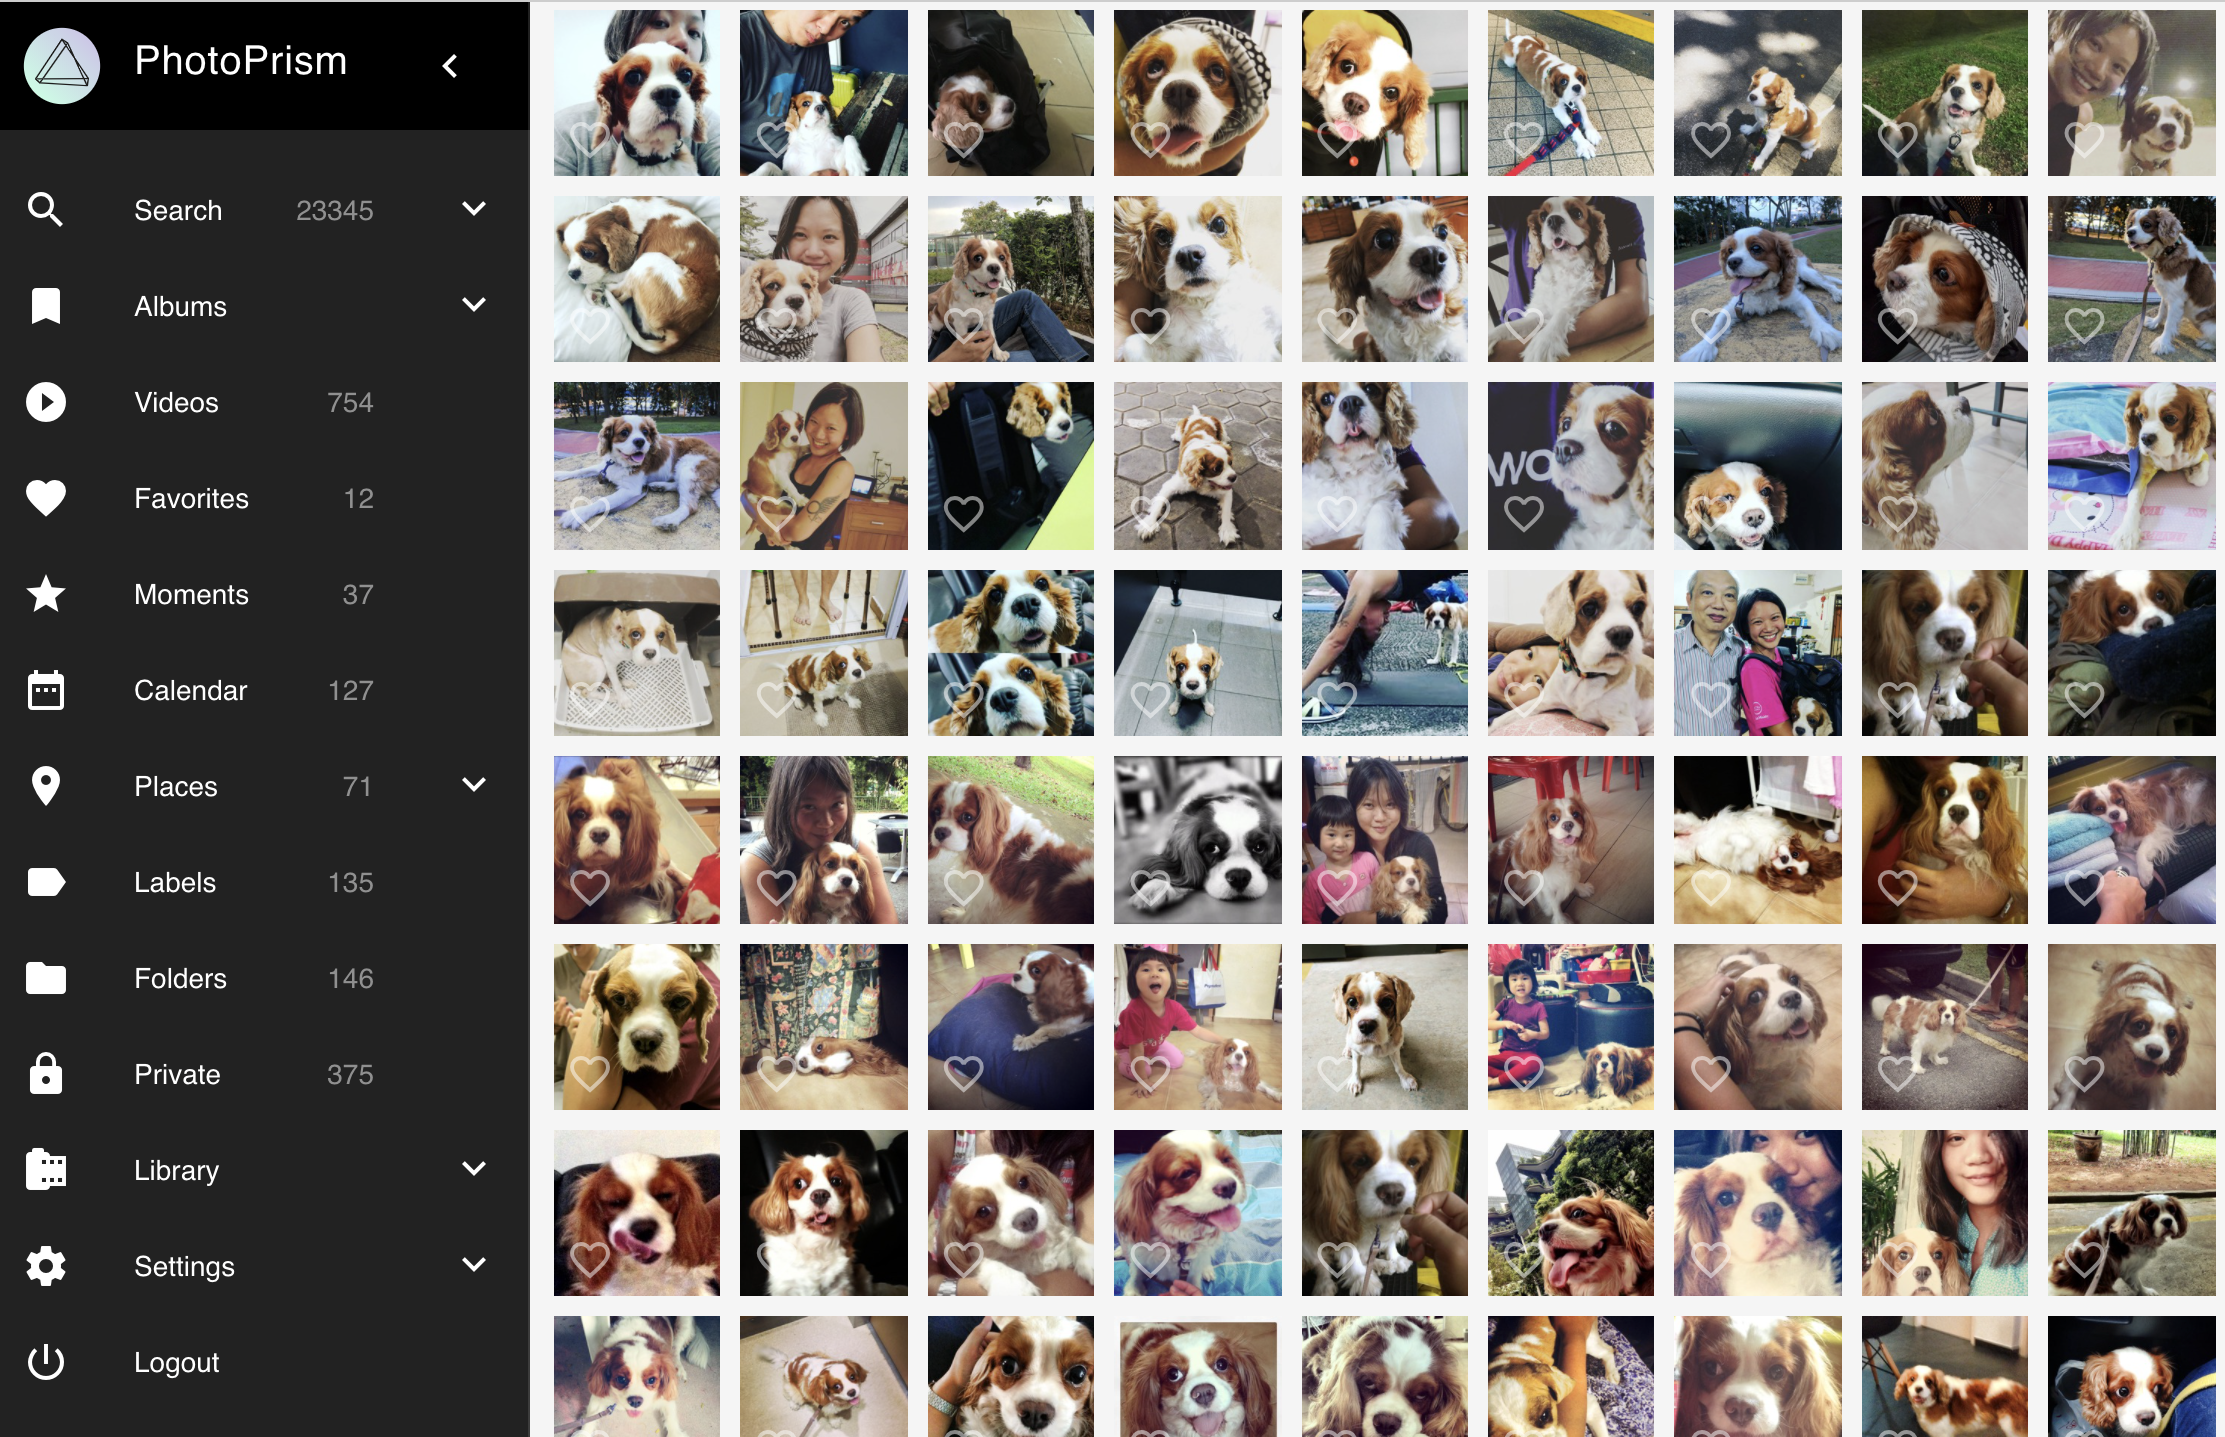
Photoprism has Tensorflow built in. Their pre-trained model doesn't get everything right (for example, it marked a plate of squid as 'baby'), but it is pretty good. My wife is placing a bet with me that I probably have more than 20 000 photos of Cookie. The moment of truth will probably be in a day or so, when all 200 000 ish photos I've got (over the last 20 years) are finally imported, indexed and tagged.
I was able to set up PhotoPrism in Docker Compose in this manner, and access it at https://photos.mydomain.com. While I'm currently importing and indexing a quarter of a million photos, I've been happy with the speed, performance and features and have decided to sponsor the project. It's nice to see people working on useful software that works well and looks good.
I'm pretty happy with the progress I've made on this. I might make a tutorial for the more complex parts of this project later.

